.png)
dRofus - Model Options can help the users to synchronize data in a consistent manner. Model Options will scan through which options and configurations that are used. As a BIM administrator, you have the ability to save this setup, assign a name and connect it to the Revit model. This way, all users opening the same Revit model will use the same configurations and synchronizing options.
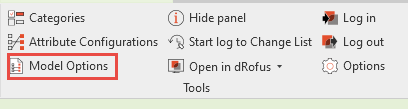
To access Model Options go to Tools-->Model Options;
Step 1: Create new Model Options
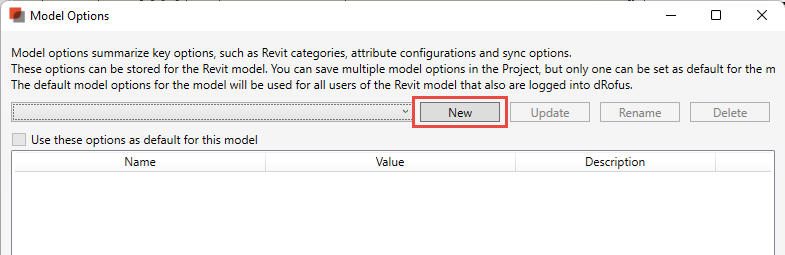
First time you open Model Options, the list will be empty. Start by selecting New to create new Model Options and assign it a name. The name can reflect the discipline, name of the Revit model, or something more suited for your project.
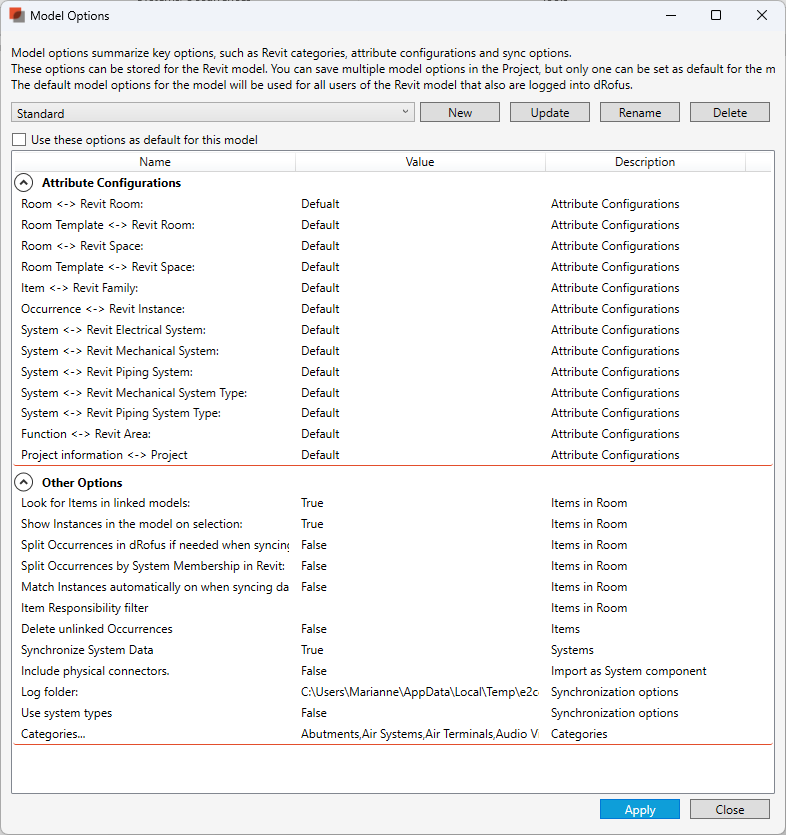
Below you can see an example. The values that are set is based on your current selection.
Default Model Option
When setting a Model Option as default, dRofus will insert a Model Options ID in the Project information parameter in Revit. You will be notified that dRofus is creating a new property for this ID as a new shared parameter. This ID is hidden in Revit to prevent unintentional changes to the ID.

The Model Options are now stored in the dRofus database and in the Revit Model. This means that when a user opens the Revit model and connects to dRofus they will use the default Model Option set by the BIM administrator.
Use of Model Options can be combined with Prompt for login or Automatic login to ensure users are connected to dRofus and uses the default Model Option.
Step 2: Edit Options
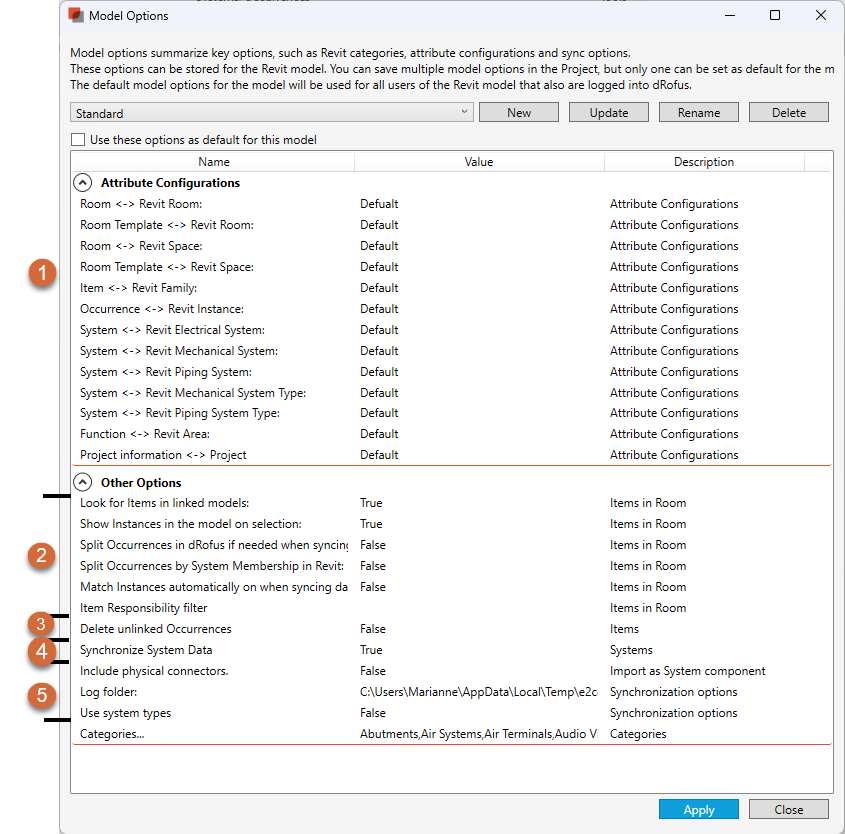
Below we shows where the different settings are located:
-
Select Attribute Configuration in the Attribute Configuration settings
-
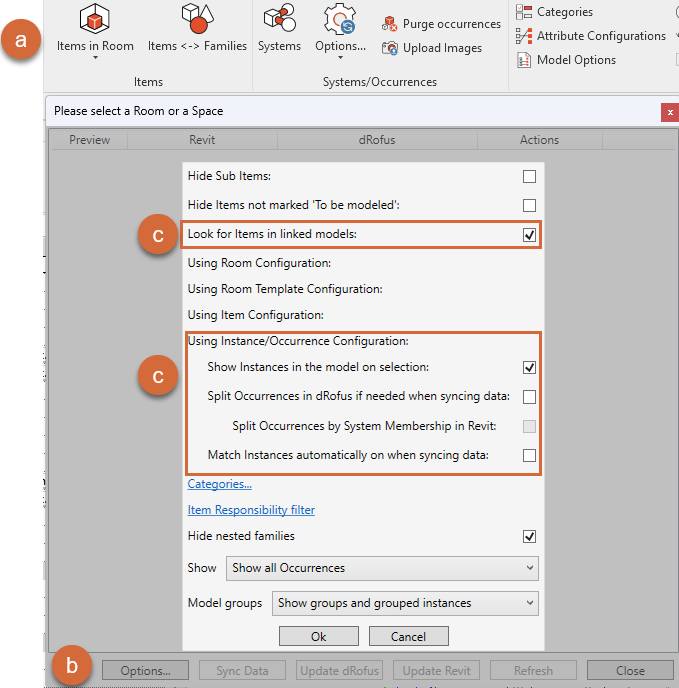
Item in Room setting
-
Select Items in Room
-
Select “Option”
-
Select the options you would like to edit.
-
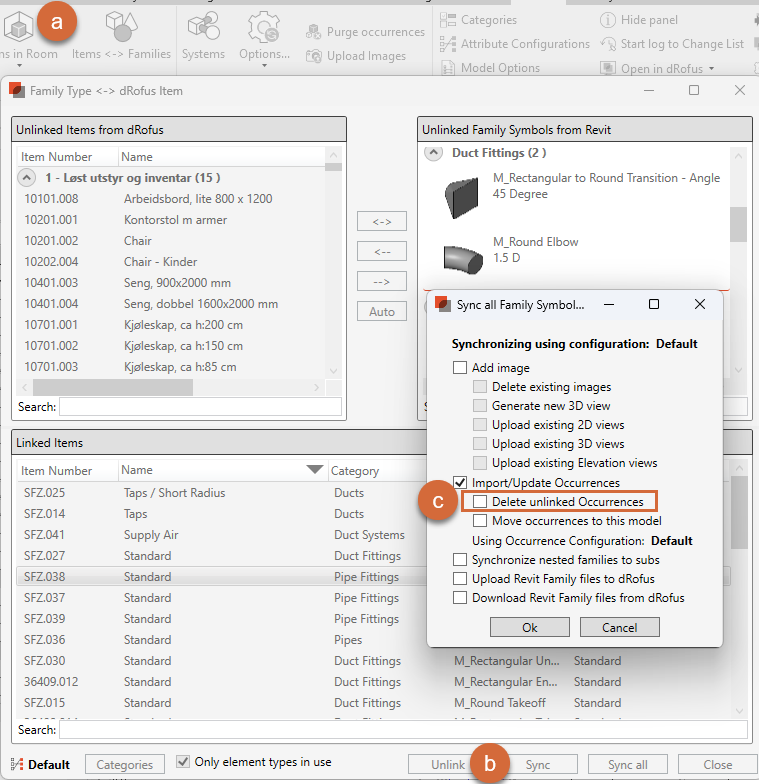
3. Items
a) Select “Family Type ↔︎ dRofus Items”
b) Select “Sync”
c) Select if you would like to edit the options.
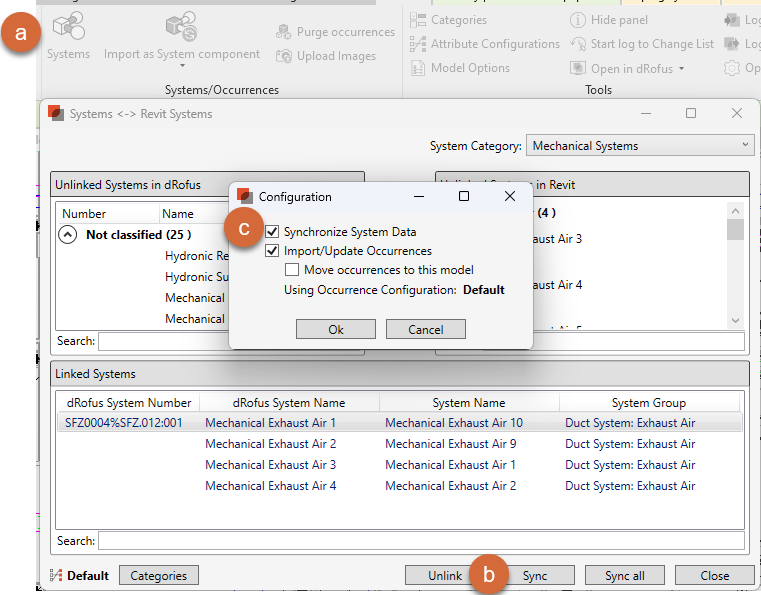
4.Systems.
a) Select Systems
b) Select Sync
c) Tick the box for data sync.
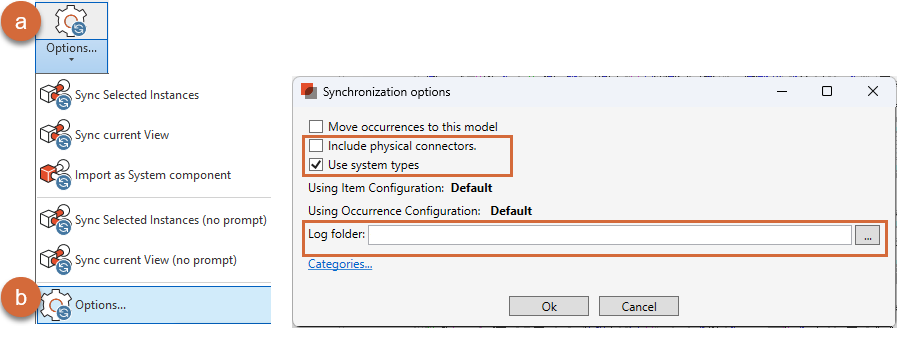
5. Systems Occurrence
a. Select drop-down meny in the system field.
b. Select “Options..”
c. Select the options you would like to edit.
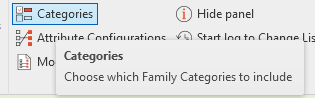
6. Categories.
a) Open the Categories window
b) Select which categories you would like to include.
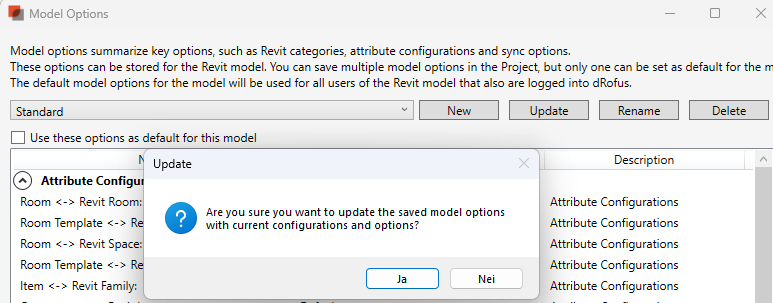
Step 3: Update
After editing the options you can update the Model Options.
-
Open the “Model Options” Window
-
Select “Update”
-
Select “Yes” in the window that appears”
4, Select “Apply”
5. Select “Ok”