.png)
Elements can also be referred to as rows in the User Interface Editor. An element can contain one or more fields, which are placed after each other in a row within the same element. Elements are important for naming as they often hold a requirement's name, not the field itself.
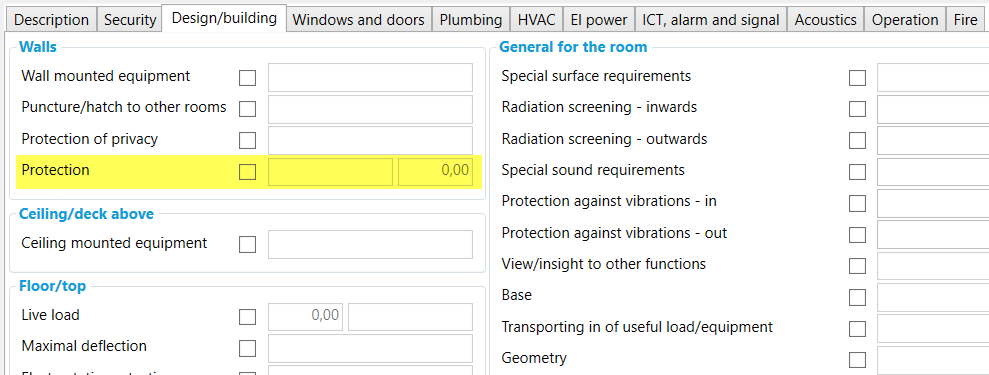
An example row is highlighted in yellow below.
Create new element
-
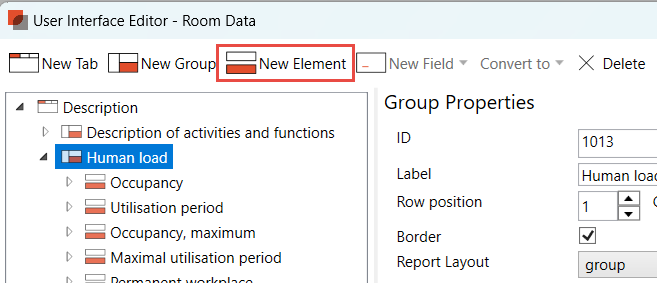
Select the group where the new element should be added
-
Select "New Element" in the top menu or right-click and select “New Element”
-
Enter Properties. See more info below.
Properties
The following properties are linked to elements:
|
Property |
Explanation |
|
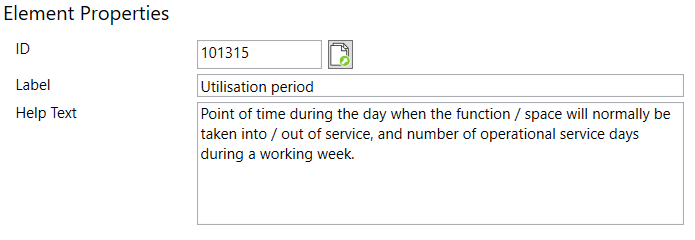
ID |
Database unique Element ID |
|
Label |
The text to be used in front of the element. |
|
Help text |
Help text for the field. When the user fills in the field on the Room Data screen, this will be displayed at the bottom of the screen. |
Copy elements
When coping elements, all fields will also be copied.
-
Select element
-
Right-click
-
Select “Copy” to copy once or select “Create multiple Copies” to create more copies at once.
Move elements
Elements can be moved between groups by using the "drag and drop" method in the tree. It is also possible to change the sequence in this way (position), and move elements from one group to another.
Delete elements
Select one or more elements and delete using the “Delete” option in the top menu or Right click → Delete.
When deleting tabs, groups, elements, or fields in a project where the field is in use with data, users in the user interface editor will get this warning message:
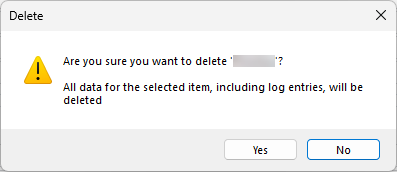
This warning message ensures that the user interface editor is aware that the changes they make will delete data from the project.