.png)
The dRofus AEC Data Sync is an AEC Data Model Integration for Autodesk® Revit® via Autodesk Forma®
Automate BIM data synchronization between Revit and dRofus through Autodesk Forma® and the AEC Data Model. This integration reduces manual updates, maintains consistent design data across platforms, and enables process automation.
dRofus syncs with Autodesk's replicated AEC Data Model rather than directly with Revit, which is why published models may take a short time to become available.
Instead of opening Revit and using the dRofus desktop plugin to manually push model data to dRofus, simply publish the design model to Autodesk Forma and use this integration to push the data from Revit into dRofus. Set-up and configuration are done via dRofus Web; attribute configurations defined in Revit are available to use with the integration. You will receive an email with a log when the sync is complete.
Note: This integration works with Autodesk's AEC Data Model and Autodesk Forma project structure. Older materials may still refer to ACC.
Key Features
-
Multiple synchronization methods for design-phase flexibility
-
Automatic updates triggered by published Cloud Workshared Revit models
-
Permission-based access control with OAuth authentication
-
Detailed sync logs are delivered via email.
Technical Setup
-
Revit 2025 with Autodesk Forma-hosted models
-
Appropriate user permissions in Autodesk Forma and dRofus
To get started, first have an Autodesk admin install the integration and request project activation. Next, configure a room attribute configuration for AEC Data Sync in Revit and select it in dRofus Model Options.
This must be done in Revit by defining a room attribute configuration for AEC Data Sync and selecting it in Model Options. Model Options
The minimum permissions required to run AEC Data Sync are Full Room rights and Full Model Server rights. BIM Admin rights are required to view or edit attribute configurations and model options. Admin rights are required to enable automatic sync on model publish.
Using Revit 2025 (or new versions), publish a workset-enabled project to Autodesk Forma.
-
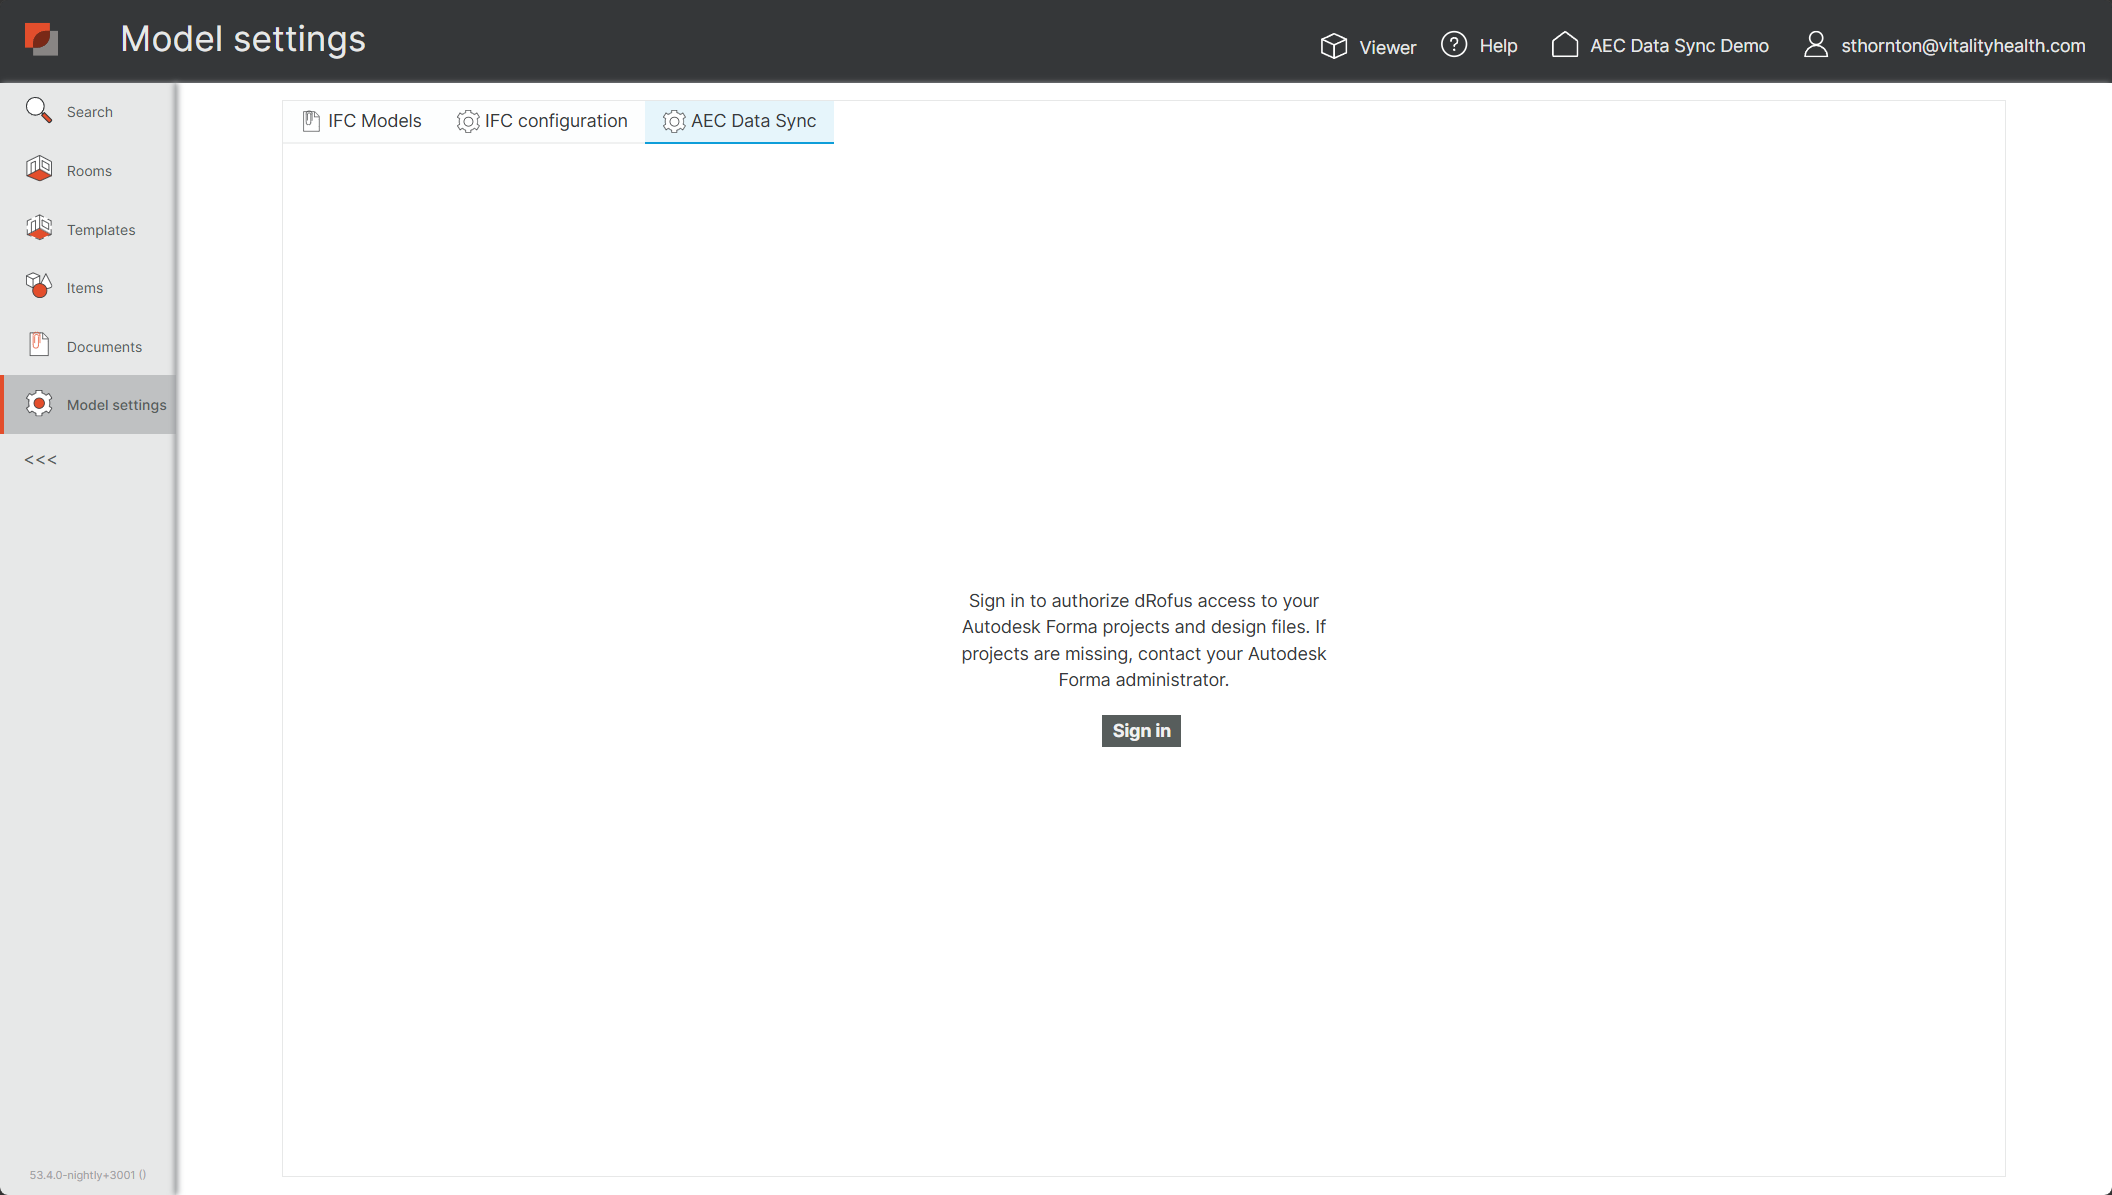
Log in to your dRofus project via the dRofus web and navigate to the Model settings.
-
Select the Sync with Revit tab and sign in with your Autodesk account.
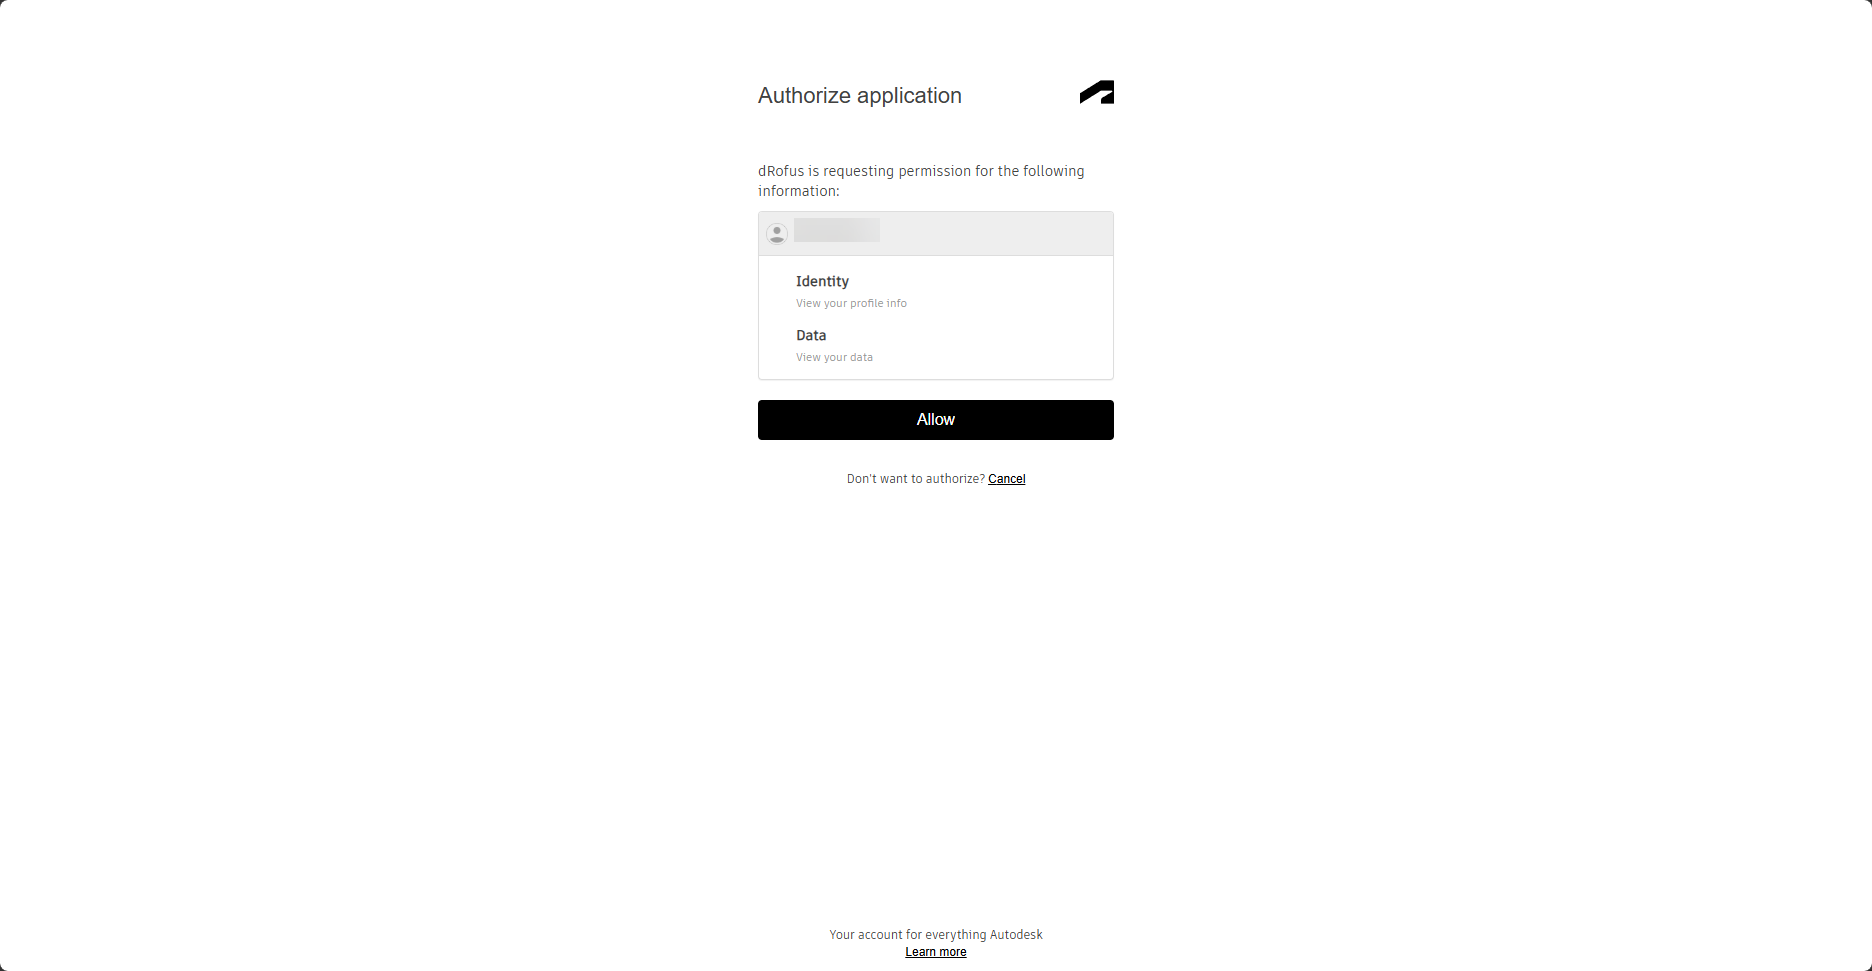
-
When asked to authorize application data, select Allow.
-
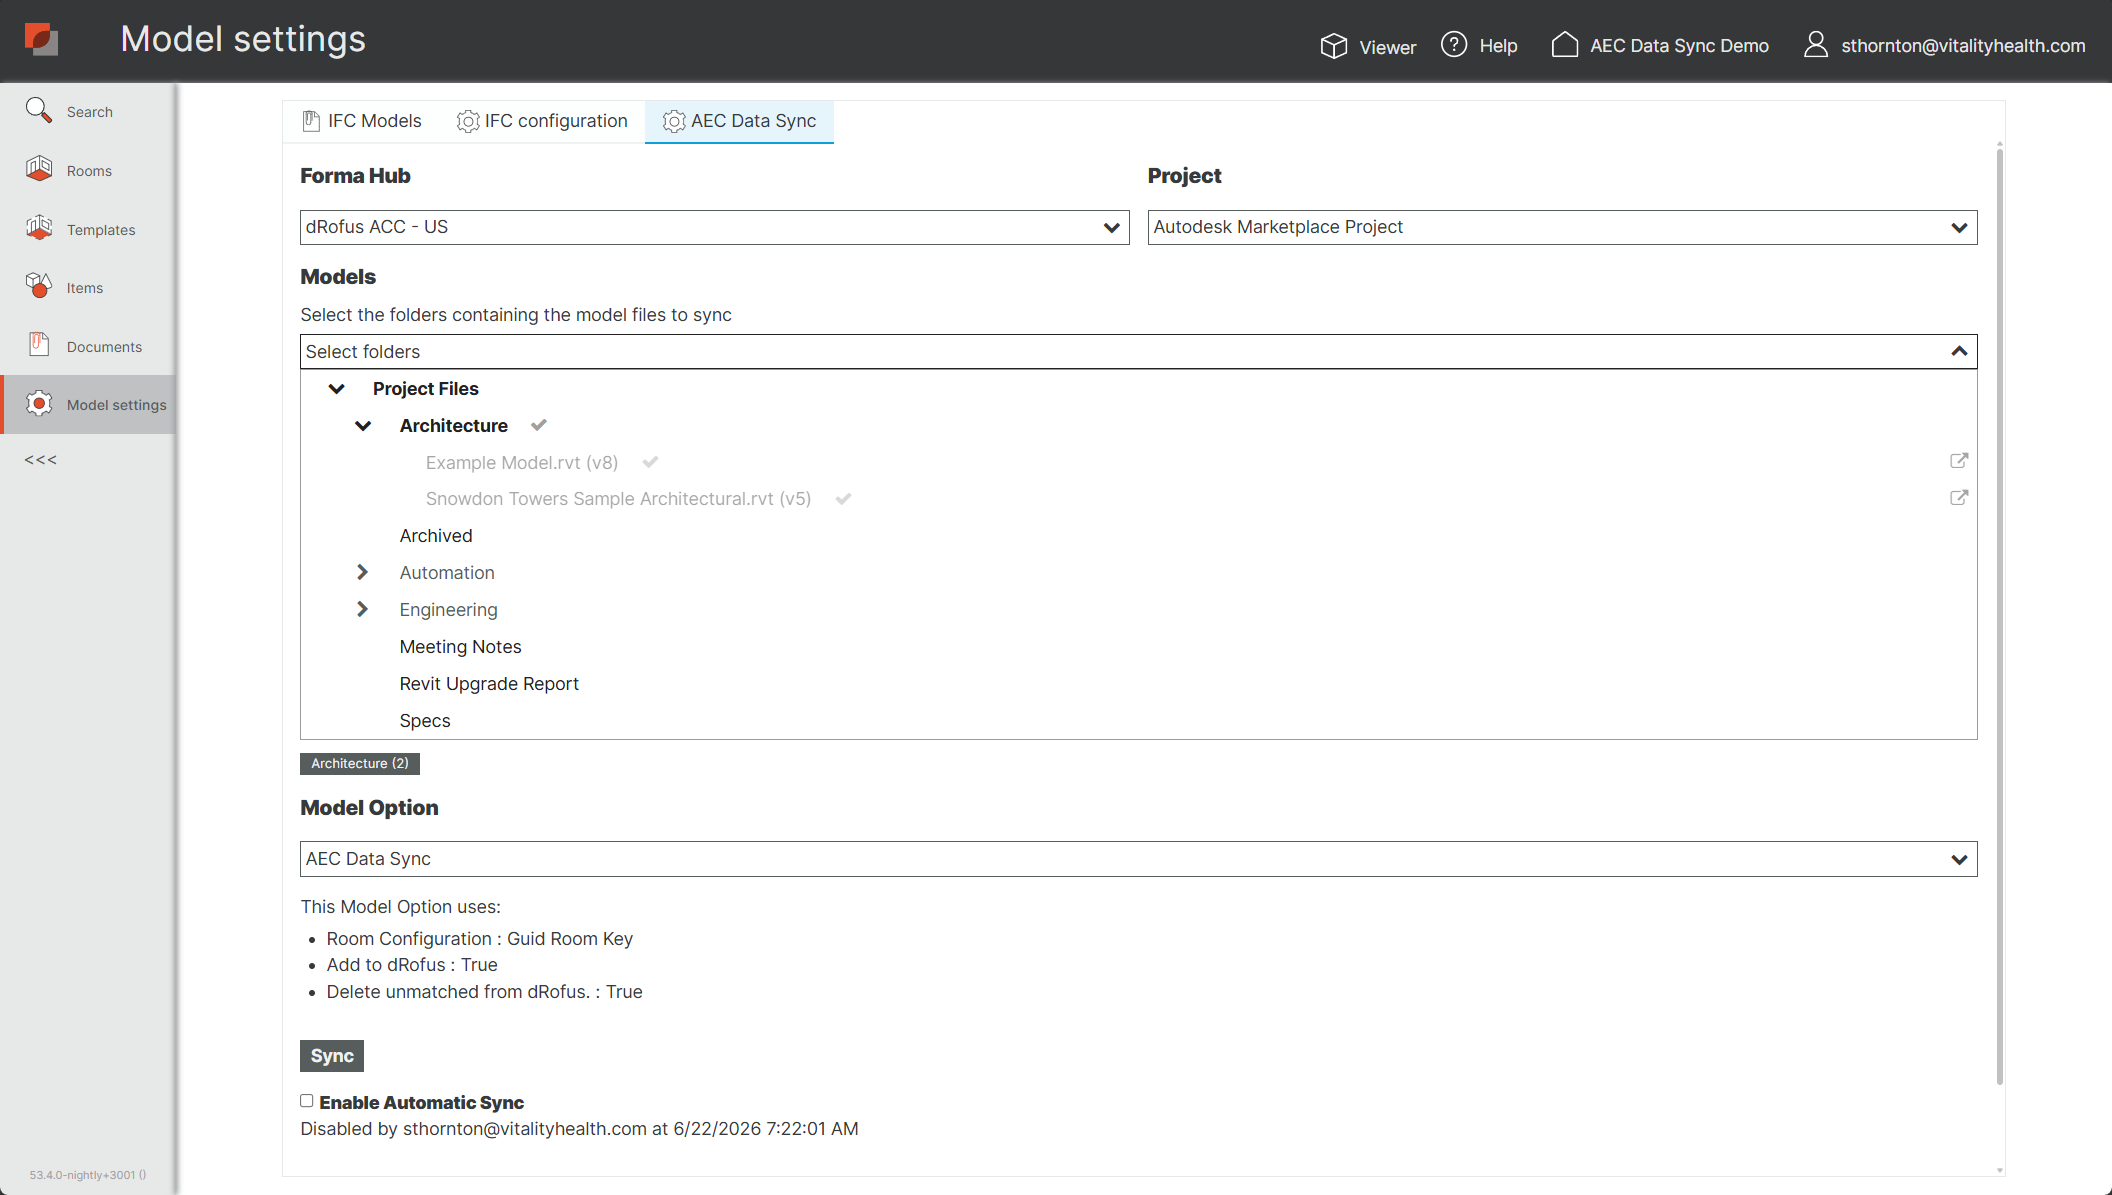
Select the Hub and Project to use.
-
Select the Folder to use.
Note that published files are shown under Models in the project and are filtered by your Autodesk project and folder permissions. Non-Revit files may appear in Autodesk Forma, but are not part of the supported sync workflow. If your design files are not listed, check your permissions in the Autodesk Forma project or have an admin check your access.
-
Select the Model Options defined earlier.
-
Select Sync to update dRofus.
An email will be sent when the sync is completed.
Options:
Turning on Add New creates new rooms in dRofus when the selected model option is enabled.
Turning on Delete Unmatched marks unmatched rooms as deleted in dRofus when enabled through the selected model option.
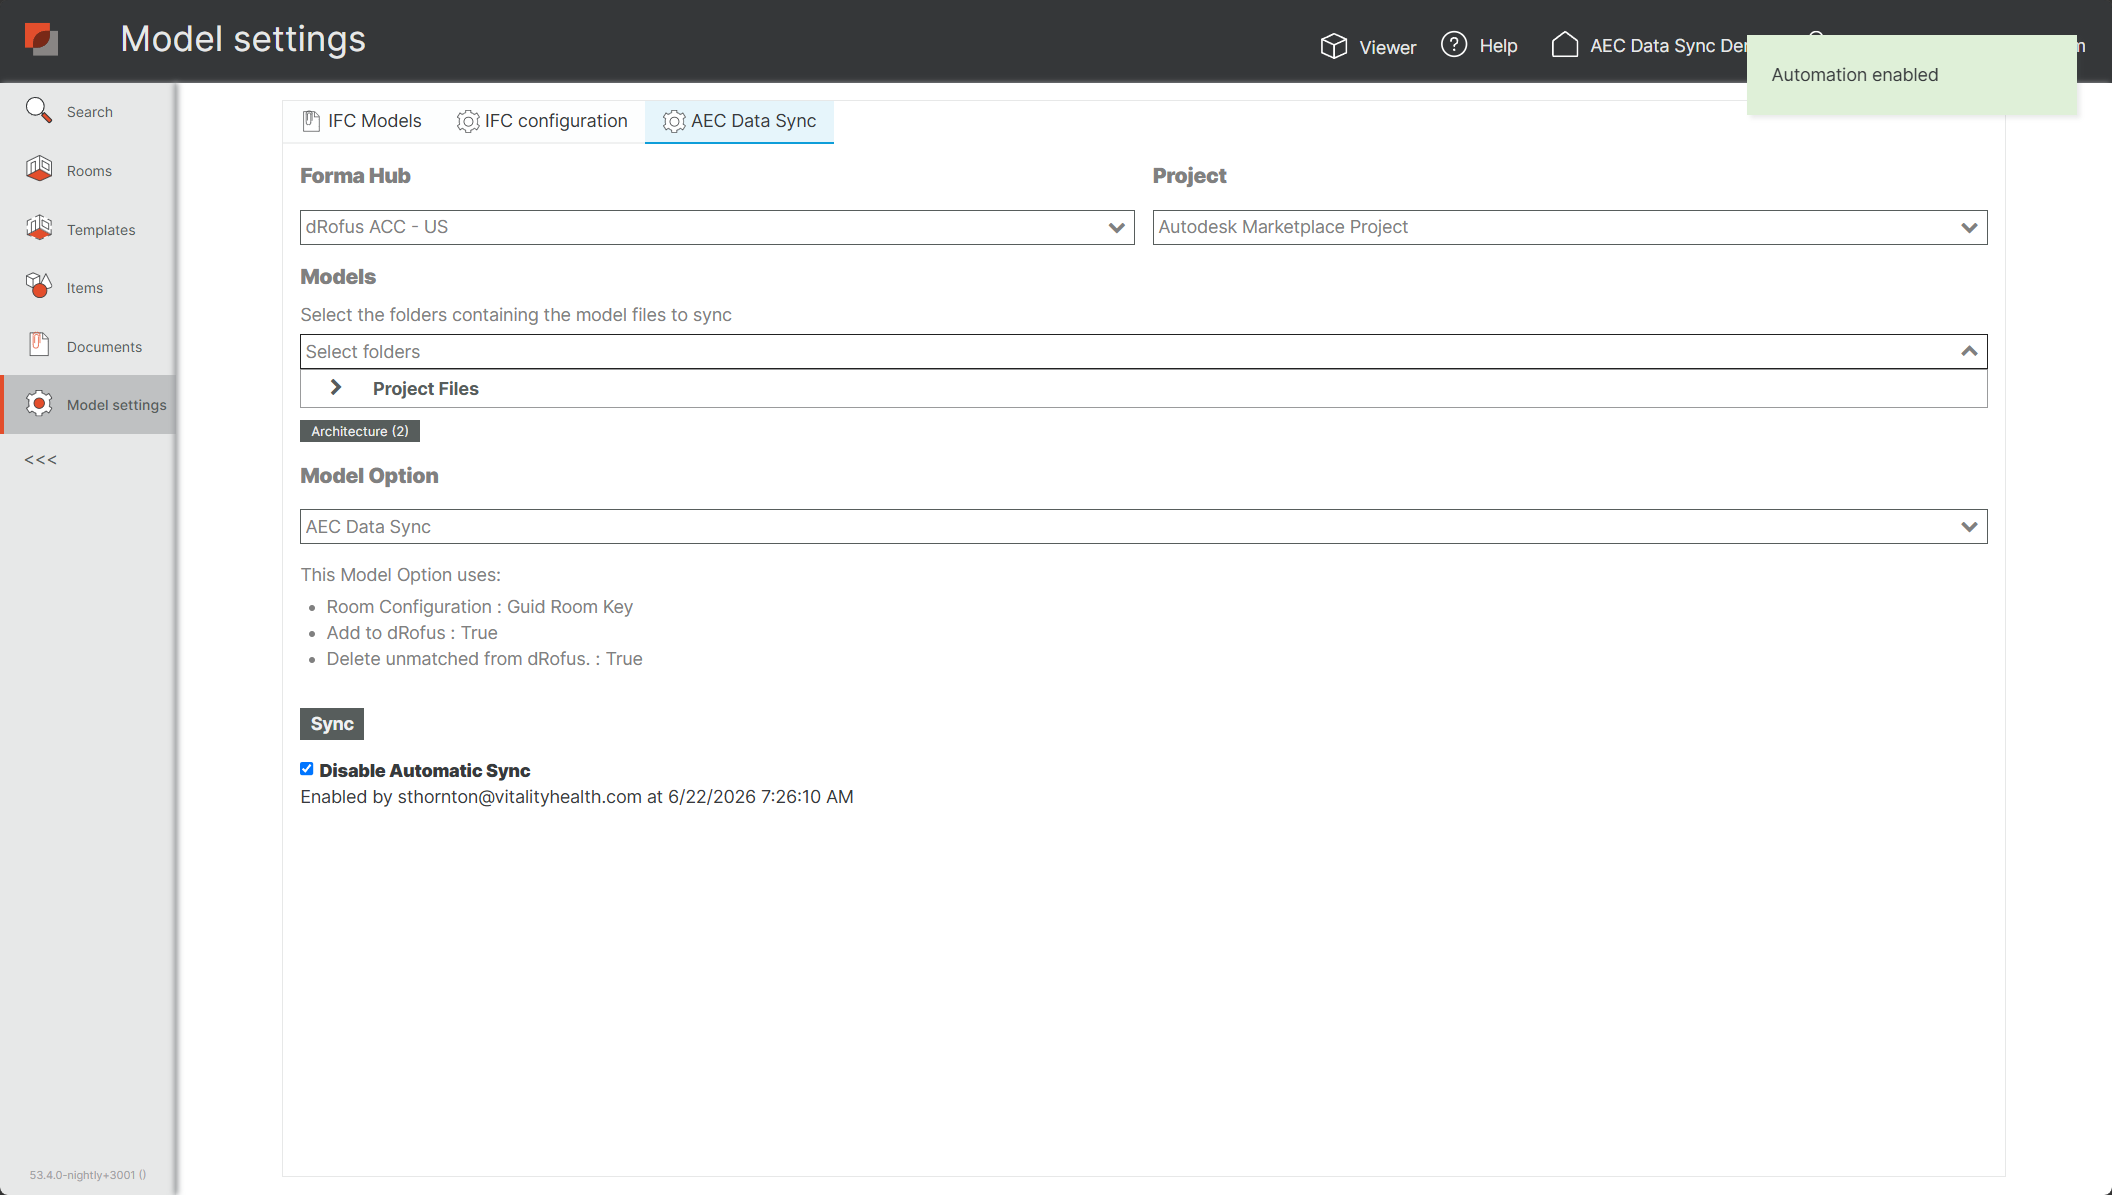
Turning on Automatically sync on model publish locks the selected settings in the web UI and runs sync when new models are published. Fields become read-only until automation is turned off.
FAQ
Q: I am seeing “Partially supported” message. What should I do?
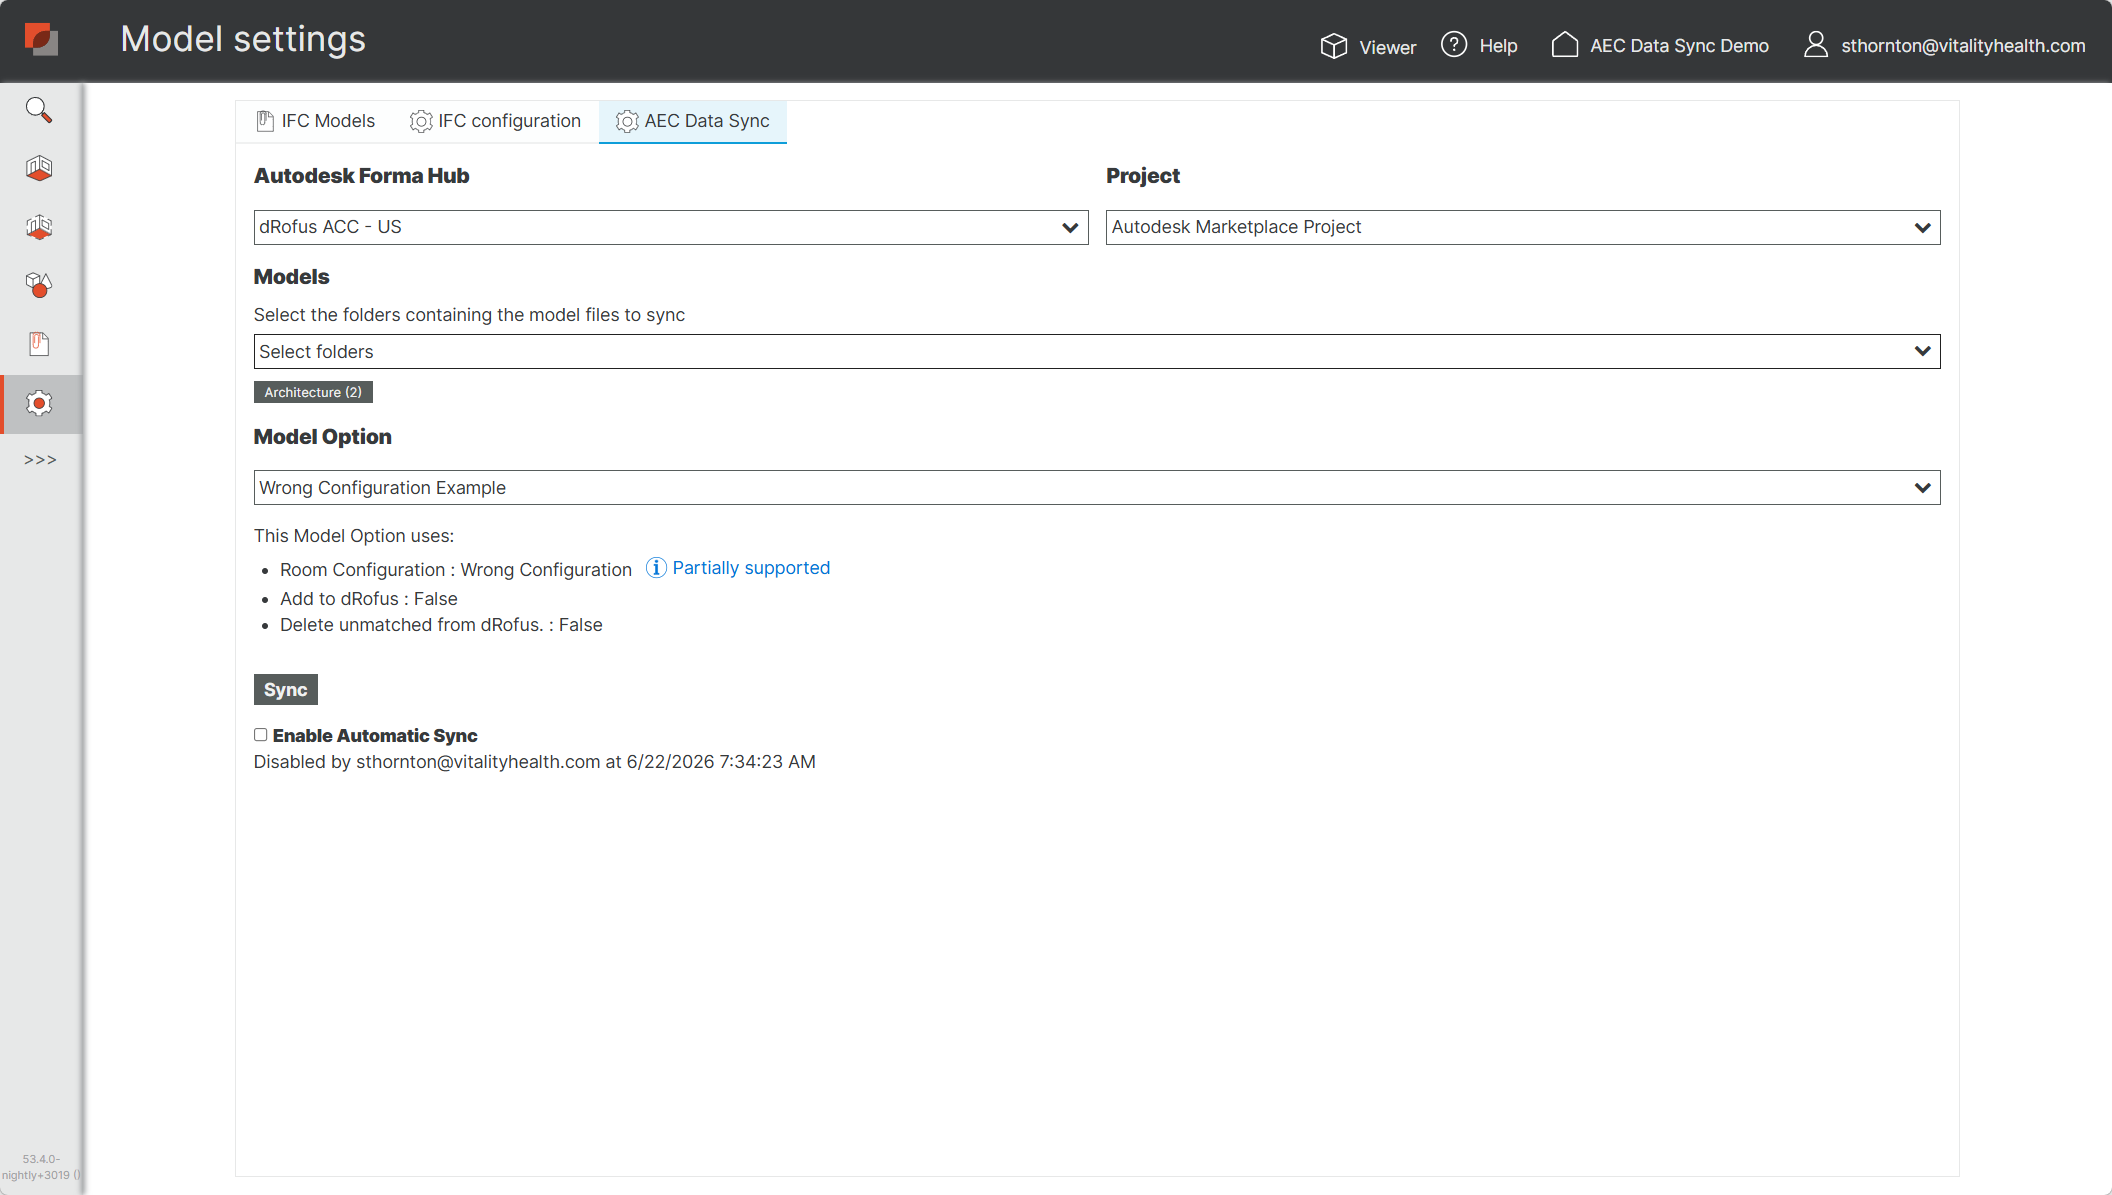
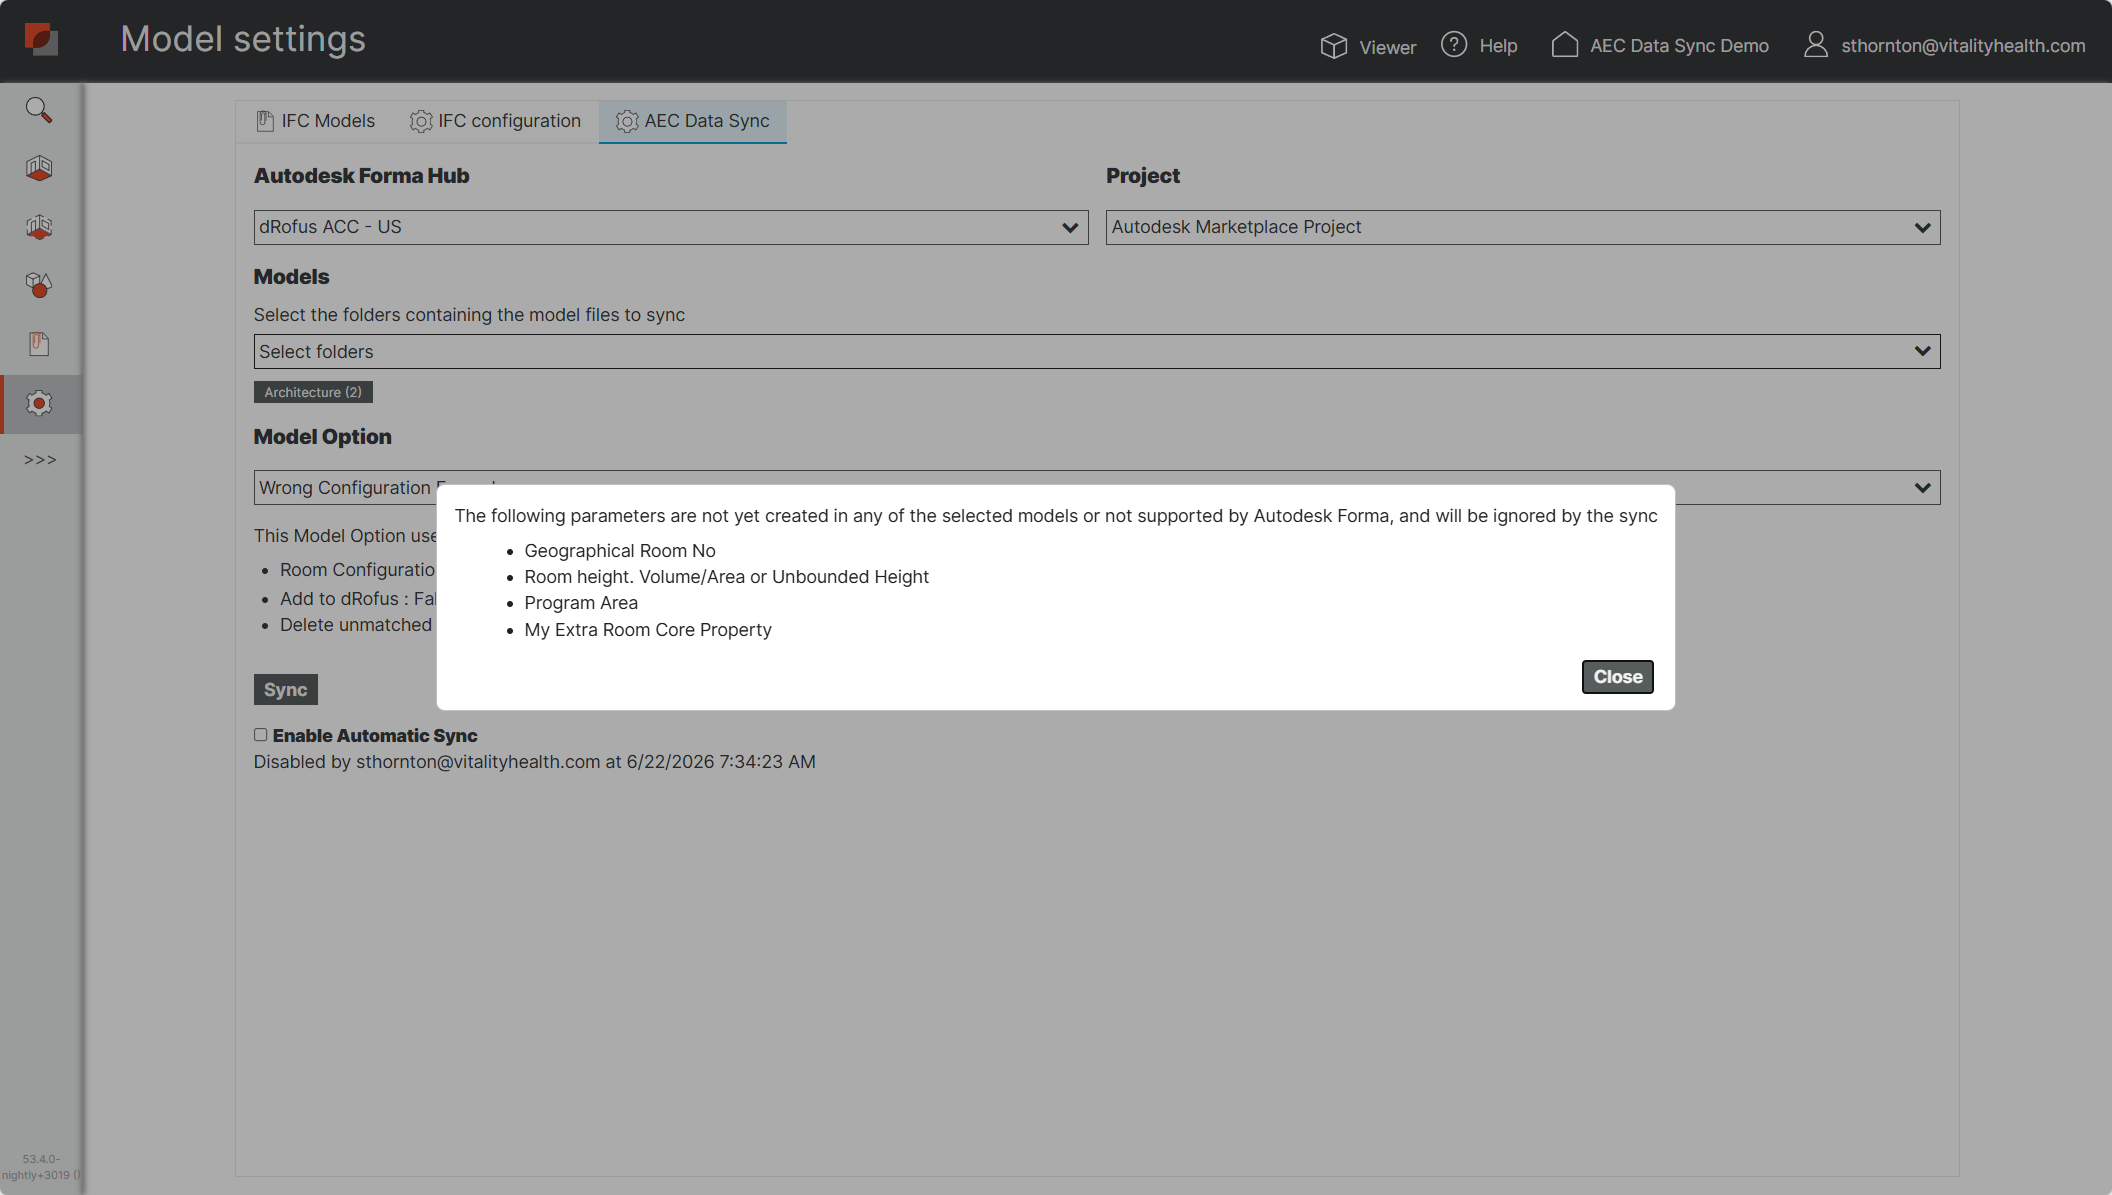
A: Select the Partially supported message to see more details on the issue. Then, return to Revit and change the room configuration and update the model options.
Q: I am seeing ”No model options found” What should I do?
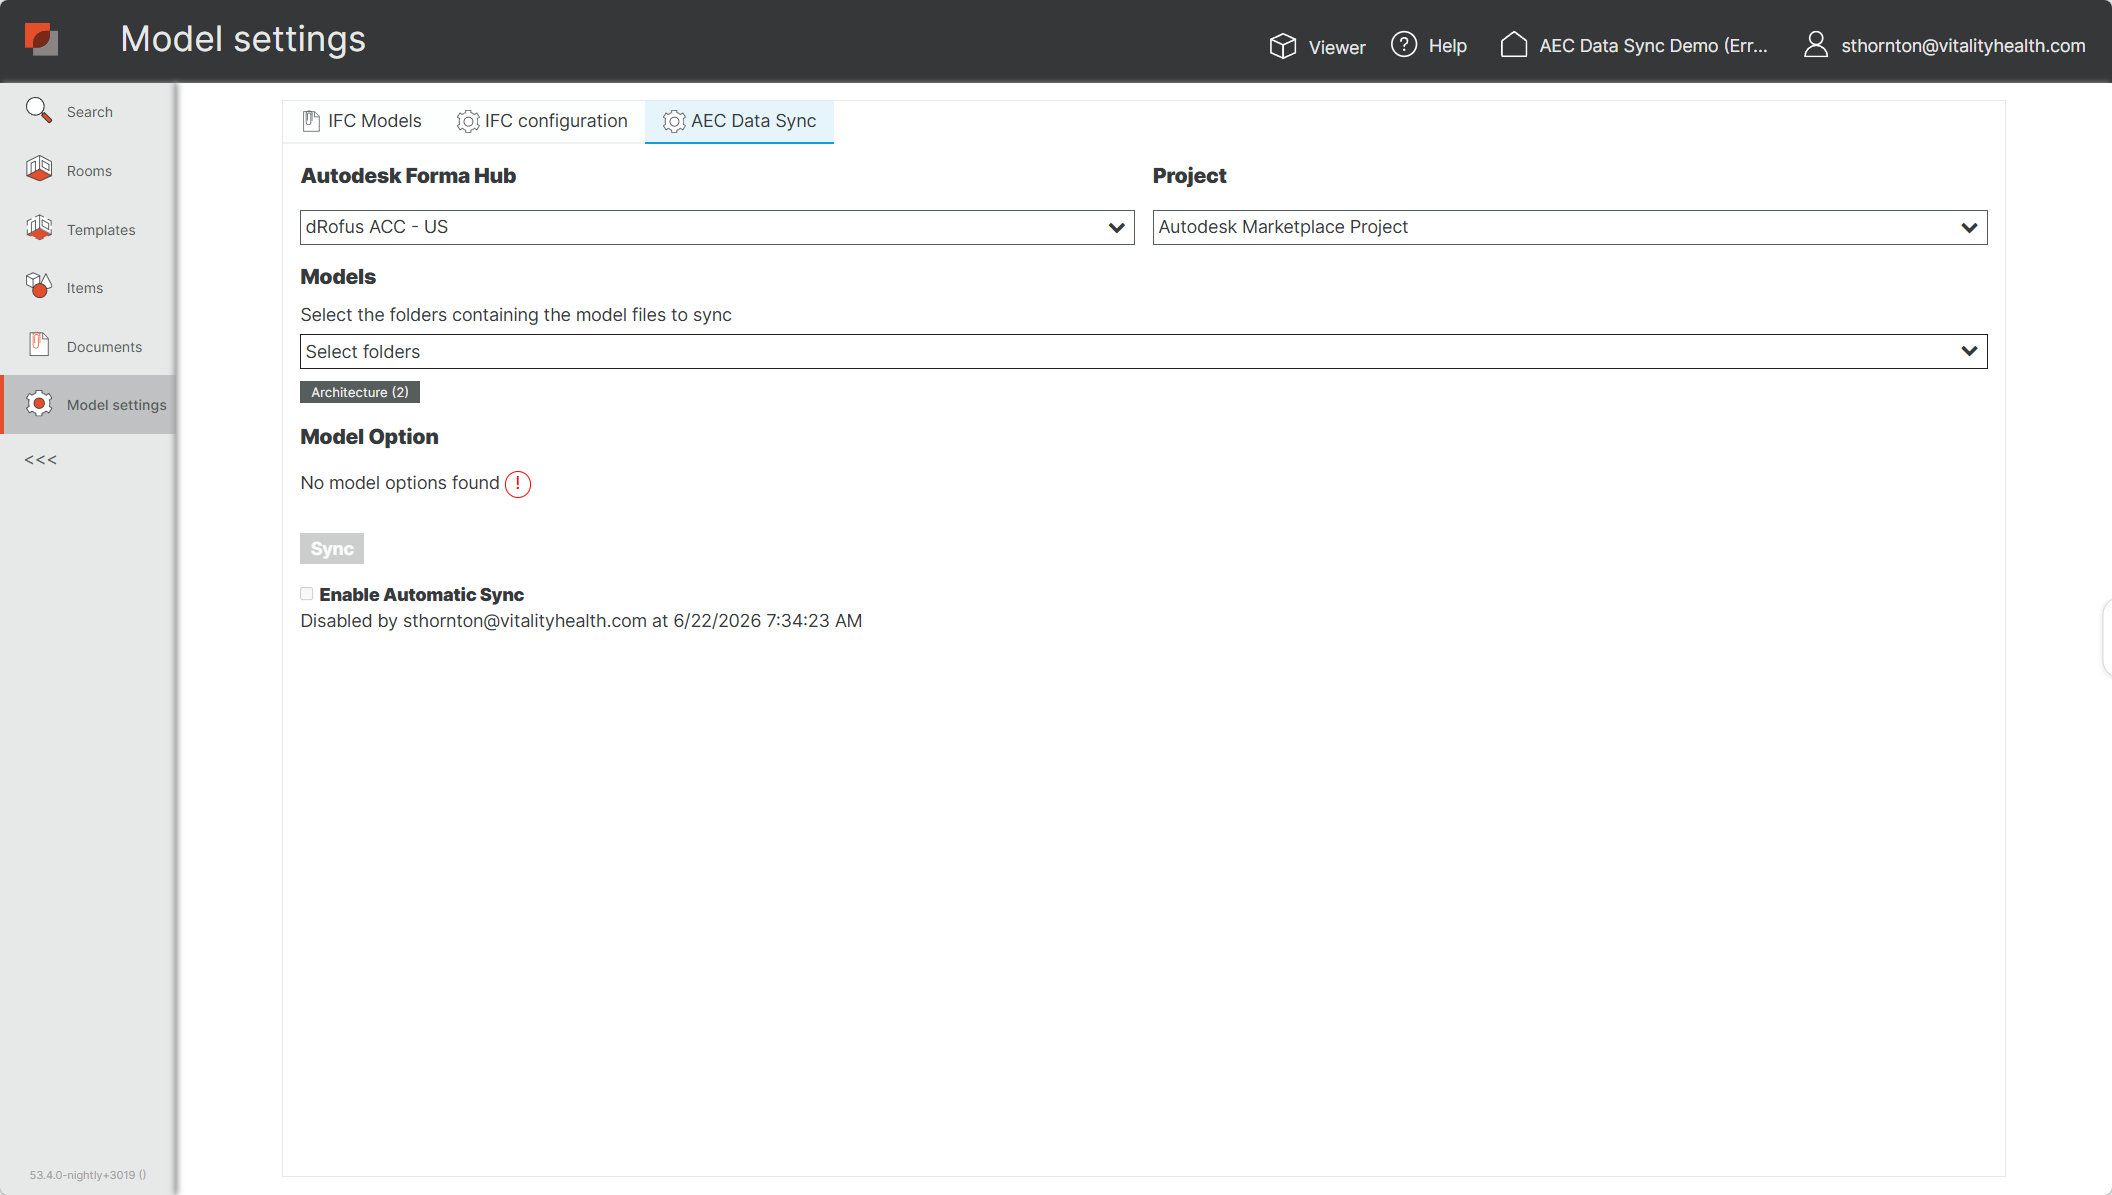
A: We require model options to be setup, see Model Options to configured one before you can use AEC Data Sync.
Q: Can I turn off automation and change the model option being used?
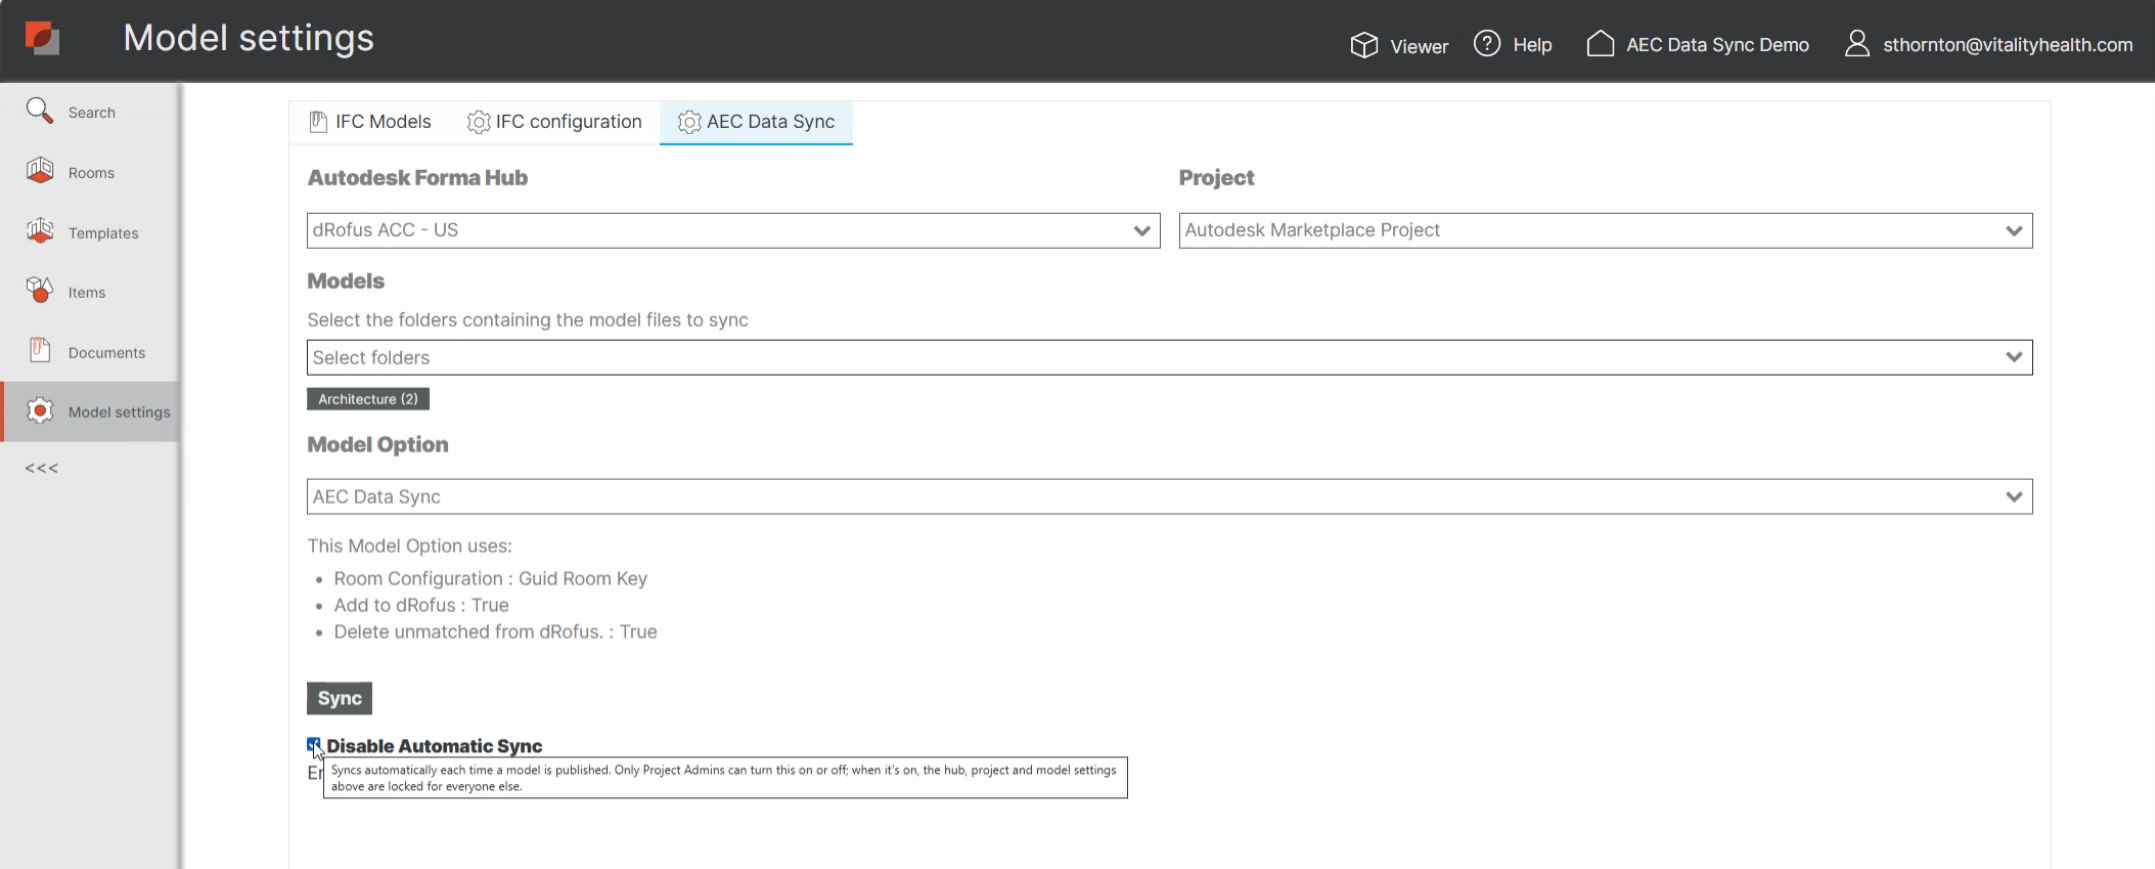
A: Yes, but if you do this, your action of turning it off will be in the log and automation will stop. If you turn it back on, the settings and permissions used will be used to configure the automation moving forward.